
Contact sheets have proven to be very useful in digital photography though it is traceable to the film days. The hard copy printed Contact sheet is useful in cataloging backup media. It helps to add a name to an external hard drive or a DVD-R. It can be used as a Visual index card and also enable the selection of multiple images for viewing.
If you are looking to explore this area, here is a guide on how to make a contact sheet in Lightroom.
How to make a contact sheet in Lightroom
First things first. If you still don’t have Lightroom then grab a free 7-day version clicking a button below. It will be the fully functional version, the only restriction is a time of use. And the best thing is that you will be able to follow the whole instruction with it.
Just as there are several ways of carrying out different functions in Lightroom, there are several ways or methods to create a Contact Sheet in Lightroom. This article will shed light on one of the methods used in creating the Contact sheet. Not only is this method useful and straightforward, but also comes in handy to create a JPG Contact sheet or a hard copy print.
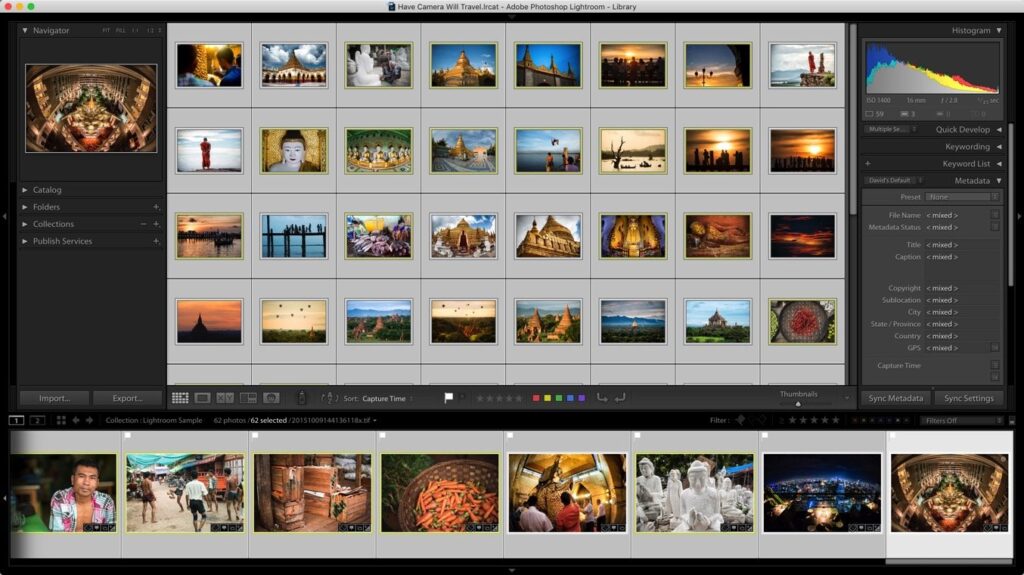
Using a Lightroom’s print module, the initial step in this method is to select the photos to be included in the contact sheet; you can select them from the library module.
After this, you choose the print module where you will find the Template browser panel. With this panel, you can access the available templates, and if you have previously created any template, you will find it there among the other templates, and then select.

In the Templates section, you will find different templates with varying sizes and landscapes. Choose the template that will be most suitable for the picture. If however, the templates do not suit your need, you can modify it into what you want. After selecting a template, there is a preview panel where you can see the chosen template. To control which image appears in the sheet, you can select the dropdown menu, which you find on the toolbar.

If you have a paper size you wish to use for the print, the Page set up button will come in handy. Bear in mind, however, that there will be no change in the number of rows and columns after you set the paper size. After doing this, a couple of adjustments will have to be done on the Contact Sheet settings. Select a layout style for the sheet. You can also use the Zoom to fill option; this will help to zoom in so as to fill the whole space.
With the Stroke Border option, you can add a line to the edges of the images and also choose the color that you want the line to have.

To amend the number of rows and columns, and also the horizontal and vertical spaces, use the Page Grid and Cell Spacing options respectively. If you need help with the layout, the Guided panel will put you through.
The Page color will allow you to select a color of your choice though the default color is white.
In case you have a logo you intend adding to the image or any branding of your choice, you can use the Lightroom identity plate. However, if it is watermark you intend is adding, then you should use The watermark option.
For page number and text control, you can use Page options and Page info respectively. After using these options then you can proceed to save the Contact sheet as a jpeg file.

How to save a contact sheet in Lightroom as a JPEG
Now you’ve learned how to create a contact sheet in Lightroom Let’s move to saving it as a JPEG. The only difference between this process and the normal saving process is that the output format is changed. The print option changes to JPEG. To modify the JPEG quality, you can use a variety of options made available to you, like the resolution and profile. After doing this, then you can print by selecting the print to file option.

If you intend printing without making it a JPEG file, then the process is quite easy. This process does not bear much difference from the regular print package. All you need to do is to load the printer with the paper you intend to use. Ensure the paper size matches the sheet you intend to print. Click on the print button, and the work is complete.
If you would like to learn more about photography then check our article How to Photoshop Someone into a Picture.